It's summer time, which means I'm going to catch up on all of my crafts I had planned. Including this super cute wood slice art. Super easy, fairly cheap, and cute for your walls or a great gift for someone!
When we got married last June, we used simple wood slices for our centerpieces. My parents hoarded the 40% off coupons from Michael's and purchased about ten of them for nearly half off each. Not too shabby. However, I have now had ten wood slices sitting around, collecting dust!
So, I started researching some craft ideas, and here's what I've done with three of them thus far.
 |
| Start off with a simple wood slice. You can pick them up at any craft store for less than $10 each. Sand down any rough edges on your wood, and use a metal brush to remove loose bark from the edges. |
 |
| I sealed my wood with polyurethane spray before painting. This seemed to hold the color better. Next, paint your wood in any color you choose. I liked the Vanilla Satin Acrylic paint, because it had a nice finish to it. I used a foam brush, and did about 3 coats to make it look really creamy. |
 |
| Now, as you'll see below, I have a couple different designs I did. This particular wood I added a Robin's Egg blue section. |
 |
| For my writing, I used black and gold paint pens. These run about $4 a piece. Some are freehand, but if you're not crafty at all, you can use stencils (either store bought ones, or make your own by printing out a design and tracing it). |
 |
| You'll also want to add a picture hanger on the back. I got a 5 pack at Target for $3, which came with the nails, too. |
 |
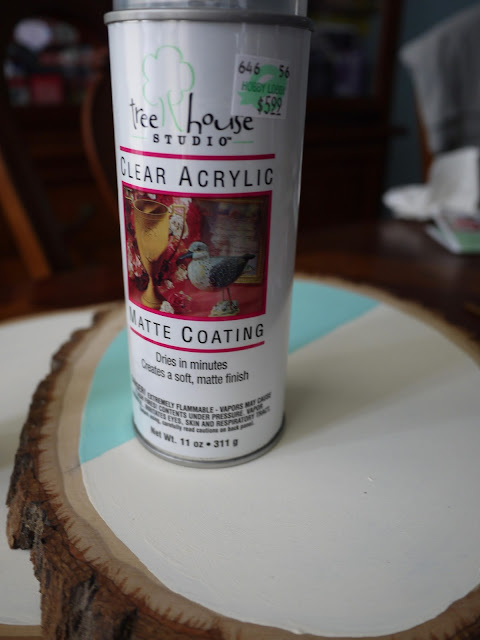
| To finish, I used this matte coating spray from Hobby Lobby to seal everything up. You can also find some here. |


No comments:
Post a Comment